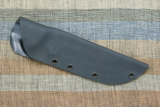
 This is the process I go through when I construct a sheath from Kydex type material. In the future I hope to add photos to make this more of a tutorial, but for now I am posting this written process for people who might be interested. Please feel free to contact me with any questions if you are confused or you think something needs clarification.
(to see a larger image, click on the picture)
First, decide if a slab (two-piece) or pouch (fold-over one piece) is best for the knife.
POUCH SHEATH
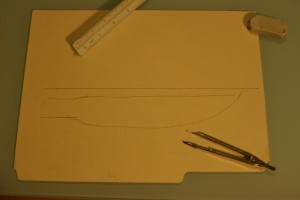
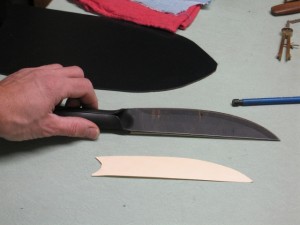
Draw a line down the center of a piece of paper or card stock (old manila folders are perfect), dividing the paper in two roughly even portions.
Lay the knife on its back (spine) with the blade edge up and the spine covering and parallel the line drawn on the paper. Gently role the knife down so it is resting on its side. Generally, the side of the knife that should be facing up now will be whatever side that will be away from the body when the sheath will be worn, i.e. if the sheath will be worn on the right hip, point down, blade edge back, the “right” side of the knife will be facing up on the pattern.
The line drawn on the paper should now be just visible above the spine of the knife.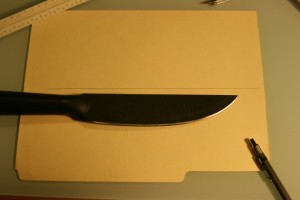
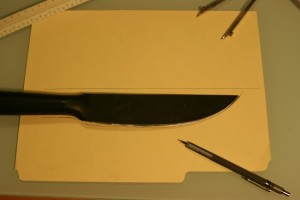
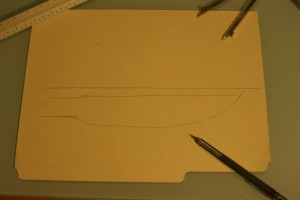
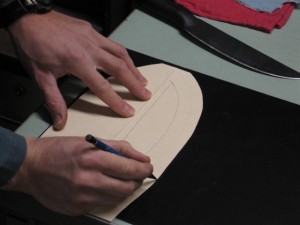
Trace the outline of the blade and the handle onto the pattern paper. It is not really necessary to trace the back of the handle or the spine of the blade, as they will hopefully be tight against the fold of the finished sheath.
Set the knife aside.
Trace a second line along the edge but spaced 5/8” from it. This will roughly be the edge of the sheath.
Add another rough-sketched line ~1/2-1″ from the sheath edge line. This will be the cut-out line for the Kydex.
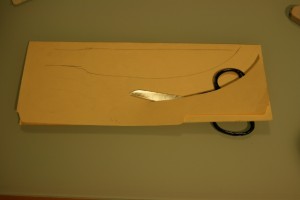
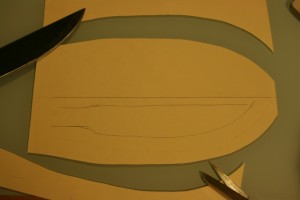
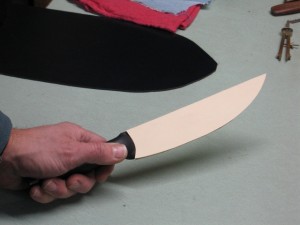
Cut out the pattern to the cut-out line. Leave excess around the handle area, depending on how you want to make the belt clip (a one piece belt clip integral to the sheath will require excess Kydex around the handle area, while a separate clip will require less).
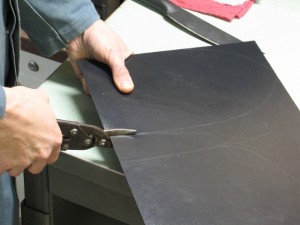
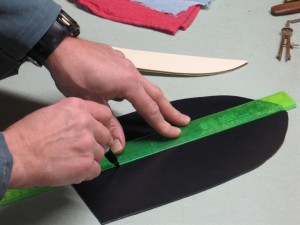
Position the pattern on a sheet of the preferred color of Kydex, trace the pattern and then cut out the sheath.
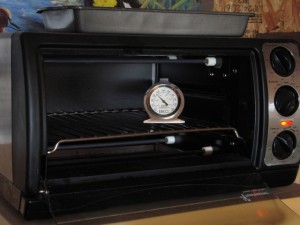
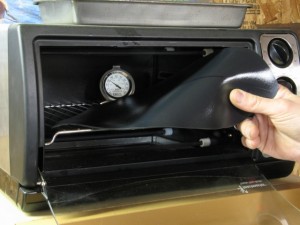
Pre-heat an oven to 275-300oC. Make sure an accurate thermometer is used, not the built-in one.
If necessary, tape off the blade of the knife, and any other parts where a tight fit is not desired, with masking or blue painters tape. Try to do an even job as any unevenness will telescope through in the forming step and be visible in the surface of the sheath. It is simplest to run the tape the length of each side of the blade, trimming off any excess. Alternatively, trace an exact profile of the blade of the knife on cardstock or poster board and cut out two of these patterns. Tape one of these patterns to each side o the blade. These will functionally make the blade thicker than it actually is, so when the sheath, when formed the sheath will be slightly thicker than the thickness of the blade, so frictionbetween the blade and sheath will be reduced.
On the back side of the Kydex, or the inside of the sheath, trace a few index lines for positioning the knife. Useful lines include a center line for the spine of the knife, tip location, etc.
When the oven has acclimated, place the Kydex in the oven. Heat the Kydex until it feels like limp rubber and is floppy, usually about 5-7 minutes.
Once the Kydex is ready, remove it from the oven (cotton gloves can help).
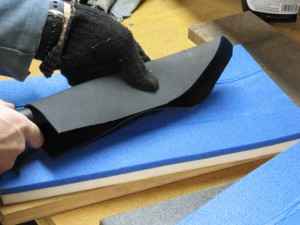
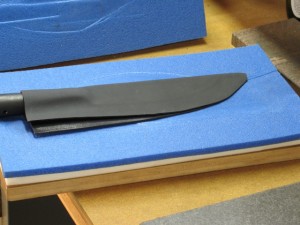
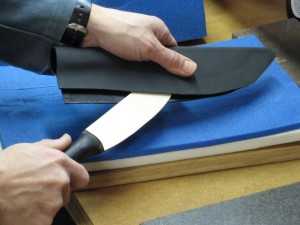
Wrap the Kydex around the knife, being careful of the edge and noting the index marks made earlier on the inside of the Kydex. Make sure the spine of the knife is tight against the fold in the Kydex.
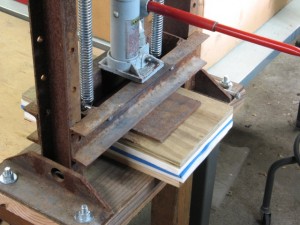
Place the folded Kydex around the knife into the press base, carefully adding the upper part of the press on top.
(Go to FORMING)
SLAB SHEATH
Lay the knife in the middle of piece of paper or card stock (old manila folders are perfect). Generally, the side of the knife that should be facing up now will be whatever side that will be away from the body when the sheath will be worn, ie. If the sheath will be worn on the right hip, point down, blade edge back, the “right” side of the knife will be facing up on the pattern.
Trace the outline of the blade and the handle onto the pattern paper.
Set the knife aside.
Trace a second line along the first line of the knife profile but spaced 5/8” from it. This will roughly be the edge of the sheath.
Add another rough-sketched line ~1/2 from the sheath edge line. This will be the cut-out line for the Kydex.
Cut the pattern out on the cut-out line. Depending on how you want to make the belt clip, leave excess around the handle area (a one piece belt clip integral to the sheath will require more excess Kydex around the handle area, while a separate clip will require much less).
Position the pattern on a sheet of the preferred color of Kydex, trace the pattern and then cut out the larger back portion of the sheath. Trace and cut out the somewhat shorter front portion of the sheath.
Pre-heat an oven to 275-300oC. Make sure an accurate thermometer is used, not the built-in one.
If necessary, tape off the blade of the knife, and any other parts where a tight fit is not desired, with masking or blue painters tape. Try to do an even job as any unevenness will telescope through in the forming step and be visible in the surface of the sheath. It is simplest to run the tape the length of each side of the blade, trimming of any excess. Alternatively, trace an exact profile of the blade of the knife on cardstock or poster board and cut out two of these patterns. Tape one of these patterns to each side o the blade. These will functionally make the blade thicker than it actually is, so when the sheath, when formed the sheath will be slightly thicker than the thickness of the blade, so friction between the blade and sheath will be reduced.
On the back side of the Kydex, or the inside of the sheath, trace a few index lines for positioning the knife. Useful lines include one for the spine of the blade, tip location, etc.
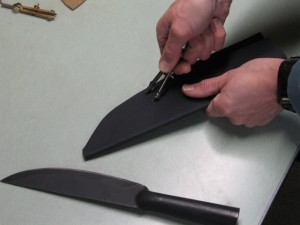
If necessary, attach the drain form to the tip of the blade.
When the oven has acclimated, place both pieces of Kydex in the oven. Heat the Kydex until it feels like limp rubber and is floppy, usually about 5-7 minutes.
Once the Kydex is ready, remove it from the oven (cotton gloves can help).
Place the large back piece of the sheath onto the base of the press, position the knife on top of that, add the front piece the sheath, check the drain form, carefully add the upper part of the press.
(Go to FORMING)
FORMING
Apply pressure, either by standing on top of the press, adding weight or hydraulic pressure.
The sheath should be cool enough to remove from the press in 10-15 minutes. Ideally let the knife and sheath remain in the press for 20-30 minutes to insure complete cooling and forming.
Once the sheath has been removed from the press, carefully remove the knife from the sheath, being aware of the sharp edge.
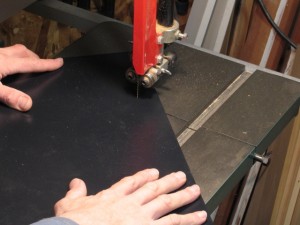
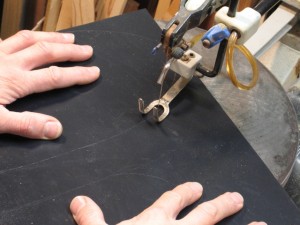
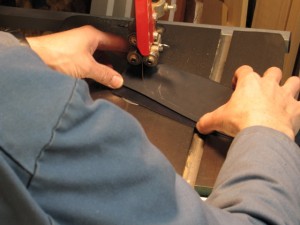
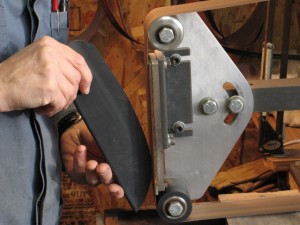
Using the pattern, trace roughly where the edge of the sheath will be and cut off some of the excess with a band saw or scroll saw.
Clean out the inside of the sheath of any dust.
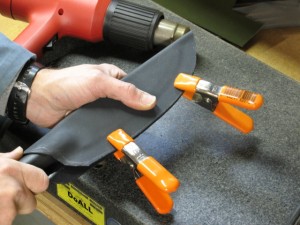
Using the knife, carefully test the fit and retention. It will help to use a few clamps to simulate the rivets along the edge of the sheath.
Use a heat gun, saw, sander, etc. to adjust the fit until it seems close.
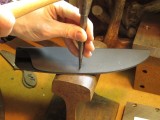
Measure and mark all rivet locations with a countersink. A compass and ruler or dial caliper can help with rivet layout. Don’t locate any rivets very close to the mouth of the sheath. Placing the first rivet 1-1 ½” from the end of the handle will allow the spring of the Kydex to retain the knife but still allow ease of drawing or resheathing.
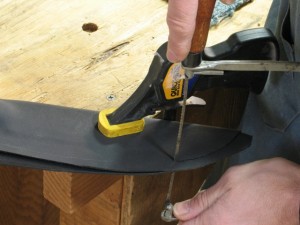
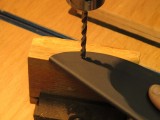
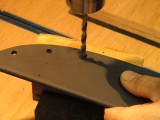
Clamp the edge of the sheath and slowly drill each rivet hole with an appropriate sized brad-point drill. It may help to insert a few rivets in finished holes as you drill to aid in keeping the two sides of the sheath lined up as hole are drilled. Drill slowly and carefully, as the holes should be straight and true, and drilling fast can melt and damage the holes.
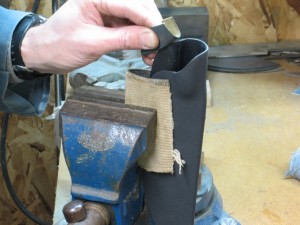
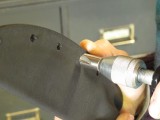
Use a countersink to hand de-bur the holes.
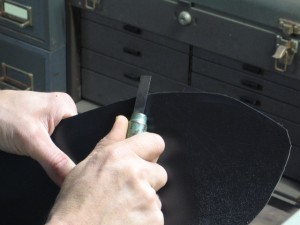
Finish sanding the edges, do any sculpting desired.
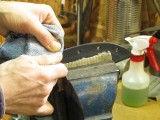
Polish edges with 220 grit sandpaper dry, 220 grit sandpaper wet and then a lightlydamp piece of denim cloth. Final polish can be done with 000 steel wool with a little water, oil or WD-40 for a shiny edge.
Clean out the sheath with a dry rag.
Clamp the edge of the sheath or install a few Chicago bolts and do any final stamping or adjusting of fit with the heat gun.
Set the rivets carefully. Place the factory side of the rivet in the front or most visible side of the sheath.
Build or add the belt loop device. Separate belt clips are the easiest to do (and to replace if it breaks later), but integrals can look much nicer.

Leave a Reply